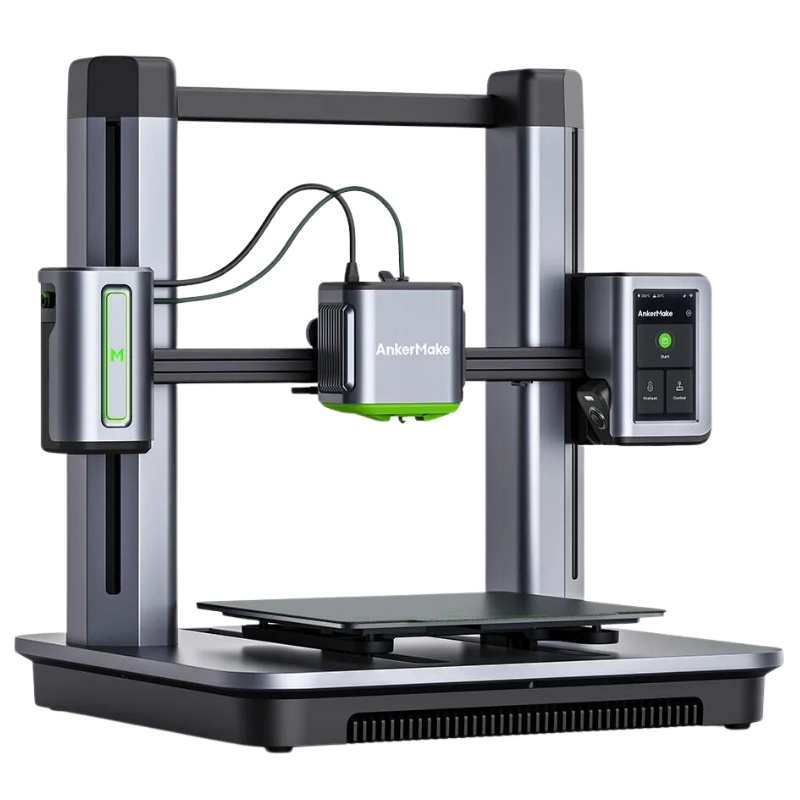
AnkerMake M5 Review
Our Verdict
Compare to Similar Products
 This Product AnkerMake M5 | |||||
|---|---|---|---|---|---|
| Awards | Also Great | Best Overall 3D Printer | Best Bang for the Buck | Best for Beginners | Best for Tight Budgets |
| Price | $699 List | $699 List | $359 List | $450 List $219.00 at Amazon | $236 List |
Overall Score  |
|||||
| Star Rating | |||||
| Bottom Line | The M5 is the first release from Anker's new 3D printer arm, AnkerMake. Its a fun and jazzy tech-forward product with a bright future | A great affordable offering from one of the industry's best new brands | A feature-rich, economical option for hobbyists and cost-conscious professionals looking to dip their toes in the world of 3D printing | If you want a convenient and user-friendly product that is great for classrooms, then this is one of our favorites | This printer is one of our favorites for those shopping on tighter budgets and don't mind a little tinkering to get it printing perfectly |
| Rating Categories | AnkerMake M5 | Bambu Lab P1P | Anycubic Vyper | FlashForge Adventur... | Creality 3D Ender 3... |
| Print Quality (40%) | |||||
| Ease of Use (30%) | |||||
| Print Capabilities (20%) | |||||
| Support (10%) | |||||
| Specs | AnkerMake M5 | Bambu Lab P1P | Anycubic Vyper | FlashForge Adventur... | Creality 3D Ender 3... |
| Build Volume (XxYxZ) | 235×235×250mm | 256x256x256mm | 245x245x260mm | 150x150x150mm | 200x200x250mm |
| Maximum Extruder Temperature | 260°C | 300 ℃ | 260°C | 240°C | 255°C |
| Layer Cooling Fan? | 2 | 1 | 2 | 1 | 2 |
| Heated Bed | Yes | Yes | Yes | Yes | Yes |
| Build Plate Material | PEI Soft Magnetic Steel | Magnetic Dual-Sided Textured PEI | Removable magnetic spring steel, scratch resistant | Removeable and flexible plastic with sticker | Aluminium build plate with a magnetic course plastic sticker |
| Maximum Bed Temperature | 100°C | 100°C | 110°C | 100°C | 110°C |
| Compatible with Third-Party Materials? | Yes | Yes | Yes | No | Yes |
| Included Nozzle sizes | .4 mm | .4 mm | .4 mm | .4 mm | .4 mm |
| Print layer resolution | .1 - .4 mm | .1 - .4 mm | .1 mm | .1 - .4 mm | .1 - .4 mm |
| Filament Size | 1.75 mm | 1.75mm | 1.75 mm | 1.75 mm | 1.75 mm |
| PLA? | Yes | Yes | Yes | Yes | Yes |
| ABS? | Yes | Yes | Yes | Yes | Yes |
| Network Printing | Yes | Yes | Available with 3rd party products | Yes | No |
| Standalone (SD card or USB drive) Printing | Yes | Yes | Yes | Yes | Yes |
Our Analysis and Test Results
The AnkerMake M5's camera and app integration offers some nice bells and whistles to choose from, like time-lapses and AI print fail detection. You'll need some time to dial in the print settings as the quality out of the box is pretty mediocre, but this thing is fast, and you'll never have to worry about a level print bed, so those are major wins.
Performance Comparison
Print Quality
We start with the most important metric a 3D Printer can be judged by — its print quality, which accounts for 40% of its total score. FDM (fused deposition model) printers like this one fundamentally can't hold a candle to the intricate detail that resin printers can produce, such as the Elegoo Saturn 2. But that's easily outweighed by FDM's generally lower cost, much better ease of use, and lack of a gooey resin mess to clean.
In this metric, we evaluate print quality of the two most common filament types (PLA and ABS) via the settings of the machine out-of-the-box, and as with all FDM printers, quality can usually be dramatically improved after you get to know your machine and tinker with the settings in your slicer software.
Our first test is a little tugboat. We noticed some small lines due to tiny shifts up the hull, and the text underneath was legible, though squashed. Interestingly, the parts that many printers have trouble with (overhangs and arches) looked great for both filament types. That bodes well for the printers potential (a common theme throughout the review here).
Our spiral bridging and Eiffel Tower tests are meant to evaluate un-supported spans, and again the M5 performed average. Longer bridges started with some failed initial layers, but all were eventually successful in spanning gaps. Our Eiffel Towers were printed pretty beautifully, including the detailed and delicate spire, but the ABS print devolved into a stringy mess halfway through.
Our figurine tests, an elephant, a low-poly Bowser, and a more detailed Gengar, printed much better. The movable legs on the elephant all separated and rotate beautifully. Surface quality was good in general across all three, but the common rough spots, bottoms of the ears and belly for example, were unsurprisingly rough. Overall we can't complain too much.
Next were some tests meant to evaluate the more technical side of things, such as dimensional stability of the prints. Our “nickel” test prints a square with a hole (ideally) the exact size of a nickel to fit line-to-line. This will need to be dialed in further as the print here is significantly under-extruded, causing noticeable gaps around the nickel. The overhang tests did much better, looking perfect until the most severe angles of around 65-70 degrees (remarkably better than average).
The straight sides and unsupported center of our hollow cube test were impressive as well — only a slight sag in the top surface, but no strings hanging off, and very smooth sides and corners. Similarly, our test for intricate and delicate surface textures, a geometric spiral vase, was beautifully smooth. And the best test of all was the perfectly smooth and straight sides of our “tall tower” where it earned nearly perfect marks. This is notable because for faster printers, these thin yet tall structures are prone to getting knocked over by an ambitiously speedy print head.
All in all, we don't have too much to complain about here. AnkerMake has an adequate printer as their first foray into the market. We see rough patches in the expected places, but few outright prints fail. Supports came off clean and quick too, which can render a good print useless if not printed correctly.
Ease of Use
It took us less than the 15 minutes claimed by the manufacturer to set up the AnkerMake 5. The filament-changing procedure is easy and intuitive, and best of all, it has one of the best auto-leveling programs we've ever seen.
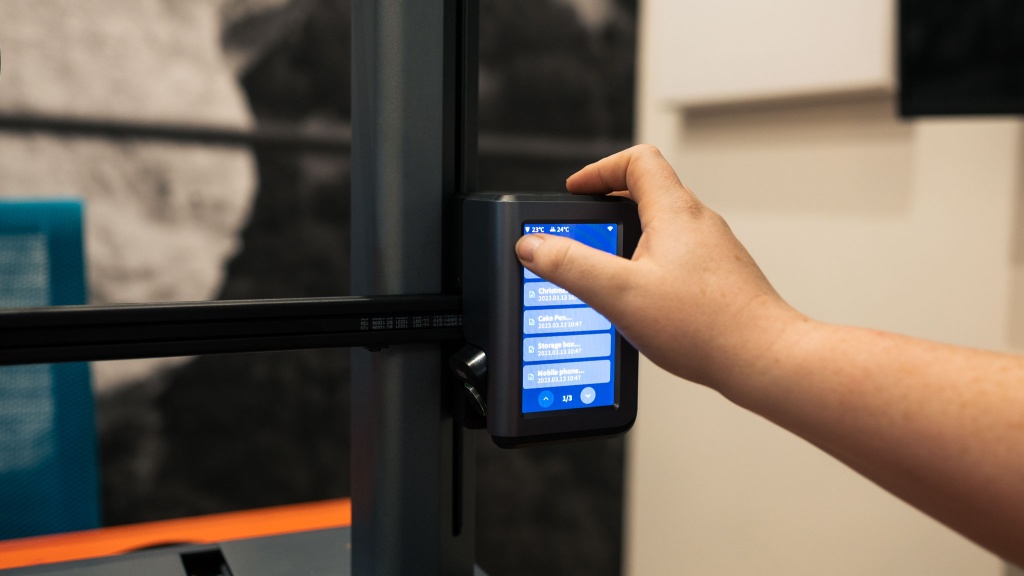
As mentioned, setup is one of the M5's strongest points. At just over 10 minutes, we were left wondering if we missed something. The packaging in the box is a clever design — it doubles as a jig to position and attach the gantry to the base, which requires just a few screws to attach. The touchscreen interface is already attached, so all you really need to do is plug in a few wiring harnesses, attach the spool holder, and pop on the removable bed. That's it.
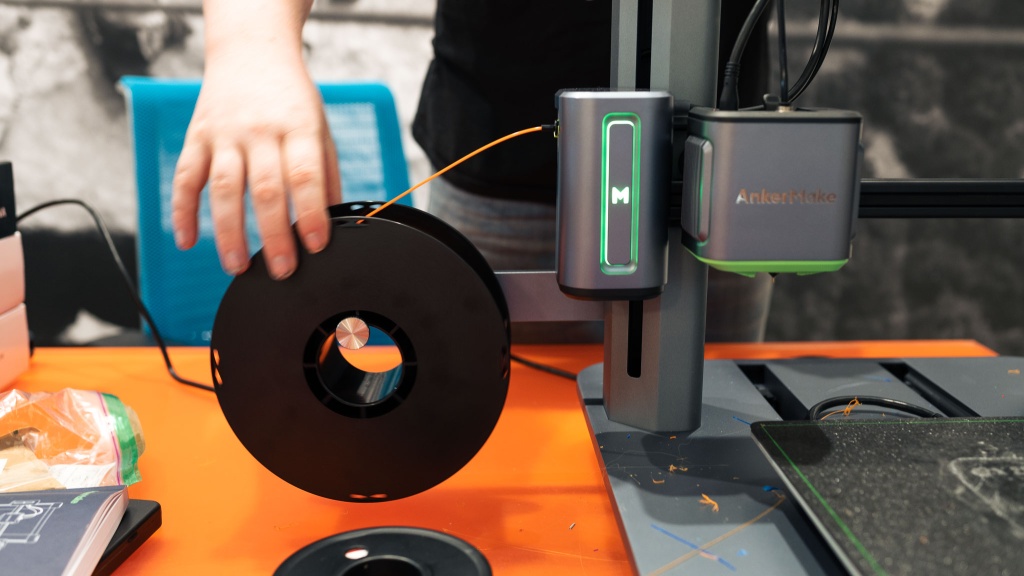
Changing the filament is semi-automatic. There's a break detector before the print head, and the load/unload procedure is easy to get to in the menu. The only annoying thing is that moving between unload and load will cause the head to start cooling during the gap, requiring additional time to heat up a couple of lost degrees. It heats quickly, but considering these steps are often done in tandem, it's something of note to us.
The M5's best feature is its auto-leveling setting system, which we think may be the best we've seen. It levels before every single print automatically. It takes about 5 minutes to test and touch all 49 points as it does so, but for most prints, pre-launch time is a small percentage of the overall print time. Plus, for better or worse, the rotational screws do seem to be fairly sensitive to bumps, and even a particularly forceful poke on the screen can throw things slightly out of whack, considering it is attached directly to the gantry. However, auto-leveling can help with this.
Getting your prints to the printer itself is done through WiFi or a USB thumb drive, which we're also happy to see. A WiFi connection option should be non-negotiable with printers these days. AnkerMake is also stepping away from the more antiquated SD card option in favor of USB.
Print Capabilities
Our next set of tests focuses on the nitty-gritty specs of the hardware and software side of things.
The burning question in many print hobbyists' minds is: What slicer can I use? The answer is that it's probably best to use AnkerMake's proprietary software simply called AnkerMake Slicer. They claim it's “optimized to achieve high-speed printing”, but more importantly, the AI feature is only available through the slicer.
That said, the M5 slicer was a little clunky. We admittedly tested the software while it was still in beta in early 2023, but this was months after launch. Overall it was fine, they weren't trying to reinvent the wheel, but there were some non-intuitive things like tumbling the model, which free-tumbles like many 3D modelers, and snapping to the bed didn't work some of the time.
Putting out proprietary software with your first printer offering is ambitious, but we saw great potential in the AI-powered print fail-detection feature. We've all woken up to a plate of spaghetti where a finished overnight print should be instead. There's a camera built into the gantry and an onboard CPU that examines the 3D data and frequently inspects throughout the whole operation, and will give you a real-time alert through the app if it fails. Through the app you can check in for a live feed anywhere, anytime.
Build volume is better than average at 235x235x250mm and solidly built. The build plate is textured, removable, flexible, and magnetic. Prints will come right off, and adhesion wasn't a huge issue in our tests.
AnkerMake claims that the M5 will go up to 500mm/s. That's nearly 20 inches per second and way too fast in our opinion, as it could easily mess with the print quality. We chose to run our prints at 150mm/s. That's already faster than most printers which we like to run around 90mm/s usually, so we do have to give credit to the M5 here.
Support
Another area where the M5 shines is its product support. AnkerMake doesn't want to see its baby die on the vine. AnkerMake's photo and video documentation are the best we've ever seen, and their phone and e-mail support were excellent. The warranty was just ok, however.
Just take a look at the M5 Support Page. Anything you'll really need to know is presented in simple, clear, quick videos set to upbeat stock Muzak. Their maintenance and replacement FAQs are also really impressive — if you have a problem, AnkerMake wants you to get the help you need. We wish all companies felt this strongly about customer service.
If you somehow still need to talk to a person, they make that easy too. You'll receive an e-mail back within a day, and we were able to speak with a person even at the end of business hours.
Its warranty is fairly standard for the printer itself at a full year, but the accessories are strangely short at only three months. We hope that doesn't mean AnkerMake expects parts to break or wear out particularly quickly, but we didn't see anything go awry in our testing, so no reason to be distrustful so far.
Should You Buy the AnkerMake M5?
We're pretty happy with the M5 overall. It's an undeniably ambitious first release, but even so, it has enough fun and handy features that some more established printer techies will like. In many ways, the Ankermake M5 has landed on its feet and started to run even, but there are some snags to work out. If the price tag doesn't give you pause and you don't mind dialing in the slicer settings, you should consider the M5. We look forward to the next iterations and more offerings from AnkerMake.
What Other 3D Printer Should You Consider?
If print quality is your number one concern, then FDM printers may not be the way to go. Instead, consider a resin-based printer such as the Elegoo Saturn 2. If you prefer the ease of FDM, then the Prusa i3 MK3S+ is a good choice for print quality, but you'll pay handsomely for it. On the other end, an overall great buy across the board for about half the cost of the M5 is the Anycubic Vyper.


